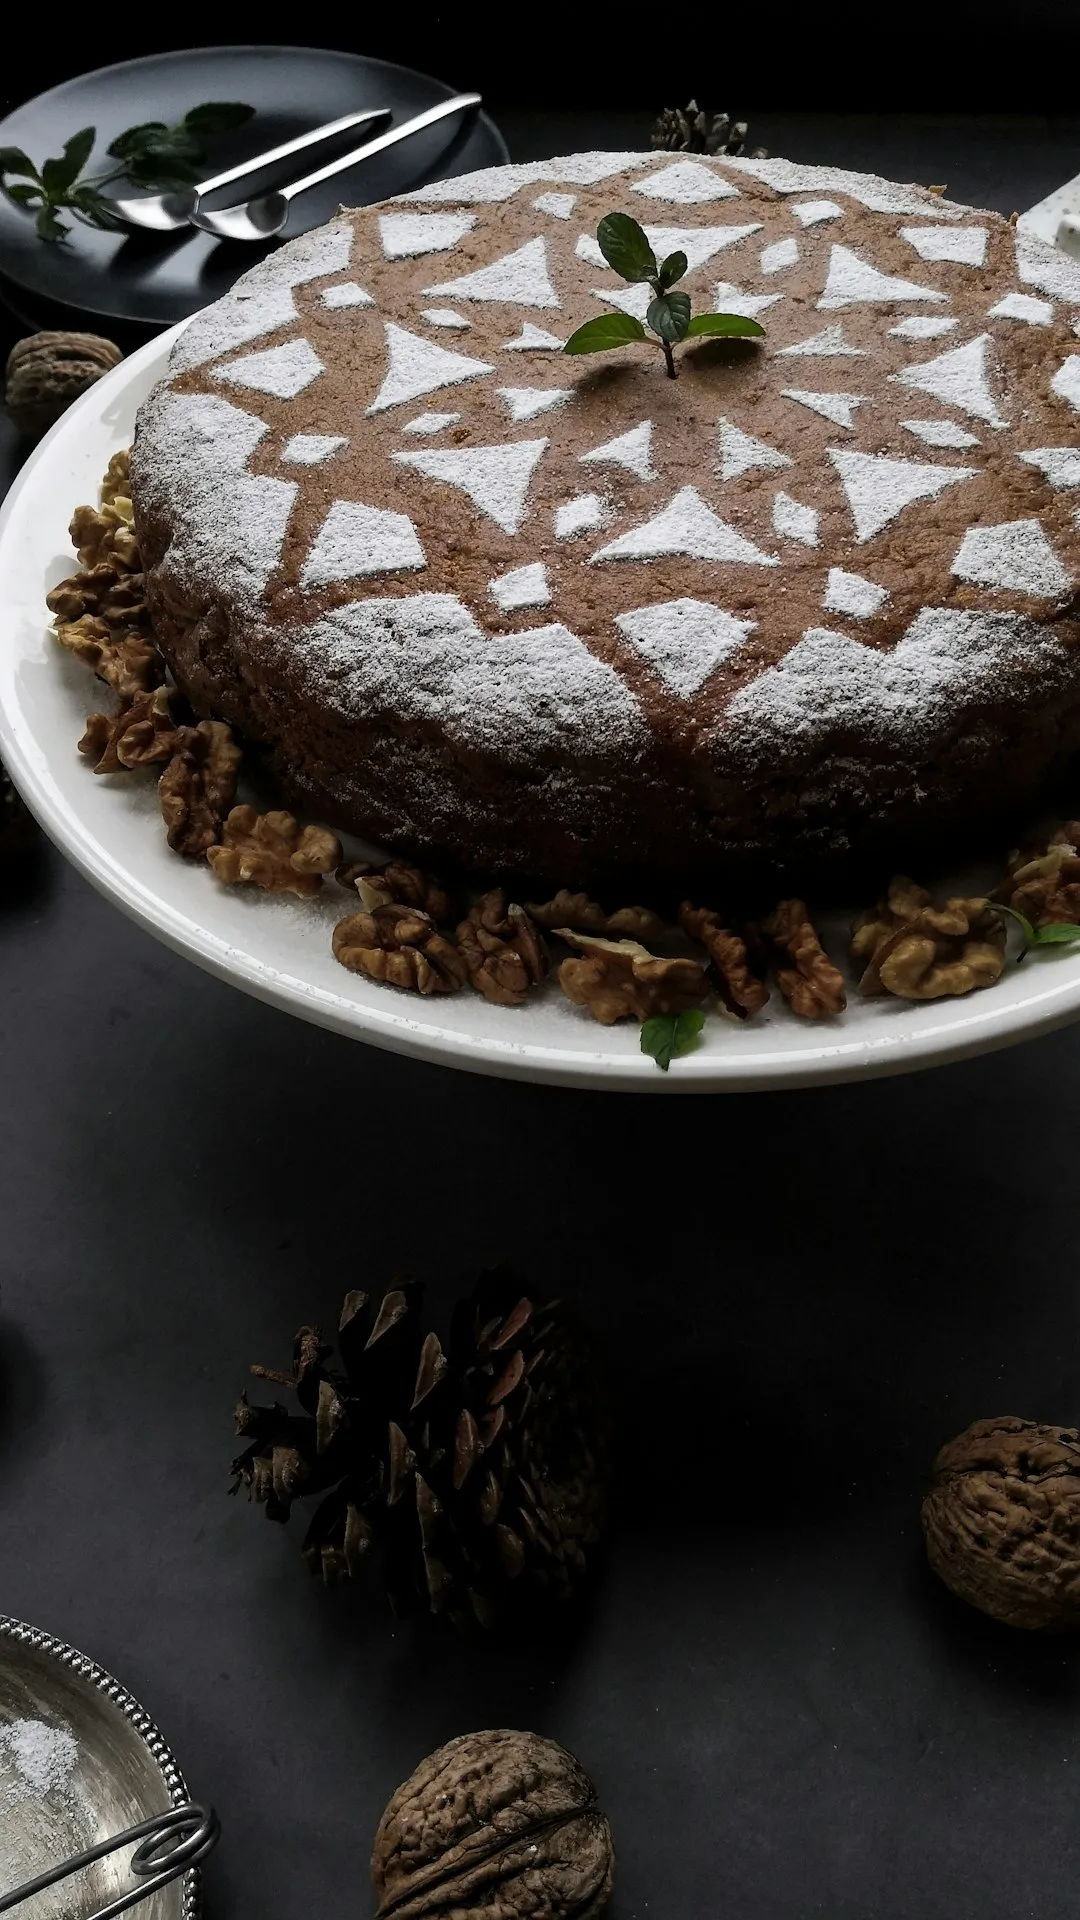
A Nostalgic Journey with Buttermilk Pie

There's something truly magical about desserts that can transport us back to the sweetest moments of our childhood. One such dessert is the buttermilk pie, a classic that brings to mind the warm, loving kitchens of our grandmothers. In this article, we'll embark on a culinary adventure and explore the wonderful world of buttermilk pie, from its rich history to the step - by - step process of making it.
Buttermilk pie has a long and storied history in American cuisine. It originated in the South, where buttermilk was a common by - product of butter churning. Resourceful cooks found a way to use this leftover liquid to create a delicious and comforting dessert. The pie's simplicity is part of its charm, with a few basic ingredients coming together to form a custard - like filling that is both tangy and sweet.
Let's start with the ingredients you'll need to make this nostalgic treat. For the crust, you can either use a pre - made pie crust or make your own. To make your own crust, you'll need all - purpose flour, unsalted butter, salt, and ice water. The combination of these ingredients creates a flaky and tender crust that is the perfect base for the buttermilk filling.
For the filling, you'll require buttermilk, granulated sugar, all - purpose flour, eggs, unsalted butter, vanilla extract, and a pinch of salt. The buttermilk gives the filling its characteristic tang, while the sugar provides the sweetness. The eggs act as a binder, and the vanilla extract adds a lovely aroma.
Now, let's get into the step - by - step process of making the buttermilk pie. First, if you're making your own pie crust, start by combining the flour and salt in a large bowl. Cut the cold butter into small pieces and add it to the flour mixture. Use a pastry cutter or your fingers to work the butter into the flour until it resembles coarse crumbs. Gradually add the ice water, a little at a time, and stir until the dough comes together. Form the dough into a ball, wrap it in plastic wrap, and refrigerate it for at least 30 minutes.
While the dough is chilling, preheat your oven to 425°F (218°C). Once the dough is ready, roll it out on a lightly floured surface. Transfer the rolled - out dough to a 9 - inch pie plate, press it into the plate, and trim the edges. Crimp the edges of the crust for a decorative touch.
Next, make the filling. In a medium - sized bowl, whisk together the granulated sugar and flour. Add the eggs, one at a time, whisking well after each addition. Then, add the melted butter, buttermilk, vanilla extract, and salt. Stir until the filling is smooth and well - combined.
Pour the filling into the prepared pie crust. Place the pie in the preheated oven and bake for 15 minutes. After 15 minutes, reduce the oven temperature to 350°F (177°C) and continue baking for an additional 35 - 40 minutes, or until the filling is set and the crust is golden brown. You can test if the filling is set by inserting a toothpick into the center of the pie. If it comes out clean, the pie is done.
Once the pie is baked, remove it from the oven and let it cool on a wire rack for at least 2 hours. This allows the filling to fully set. You can serve the buttermilk pie warm or at room temperature, and it's delicious on its own or with a dollop of whipped cream on top.
Buttermilk pie is not only a delicious dessert but also a wonderful way to connect with our past. It's a recipe that has been passed down through generations, carrying with it the love and memories of family gatherings and special occasions. So, the next time you're looking for a dessert that will take you on a trip down memory lane, give this buttermilk pie recipe a try. It's a classic that will surely become a favorite in your household.
Whether you're an experienced baker or just starting out, making buttermilk pie is a rewarding experience. The process of combining the ingredients, watching the crust bake to a perfect golden brown, and savoring the first bite of the tangy - sweet filling is truly satisfying. And who knows, you might just create a new family tradition with this timeless dessert.
So, gather your ingredients, roll up your sleeves, and get ready to bake a piece of history. Your taste buds and your memories will thank you for it.